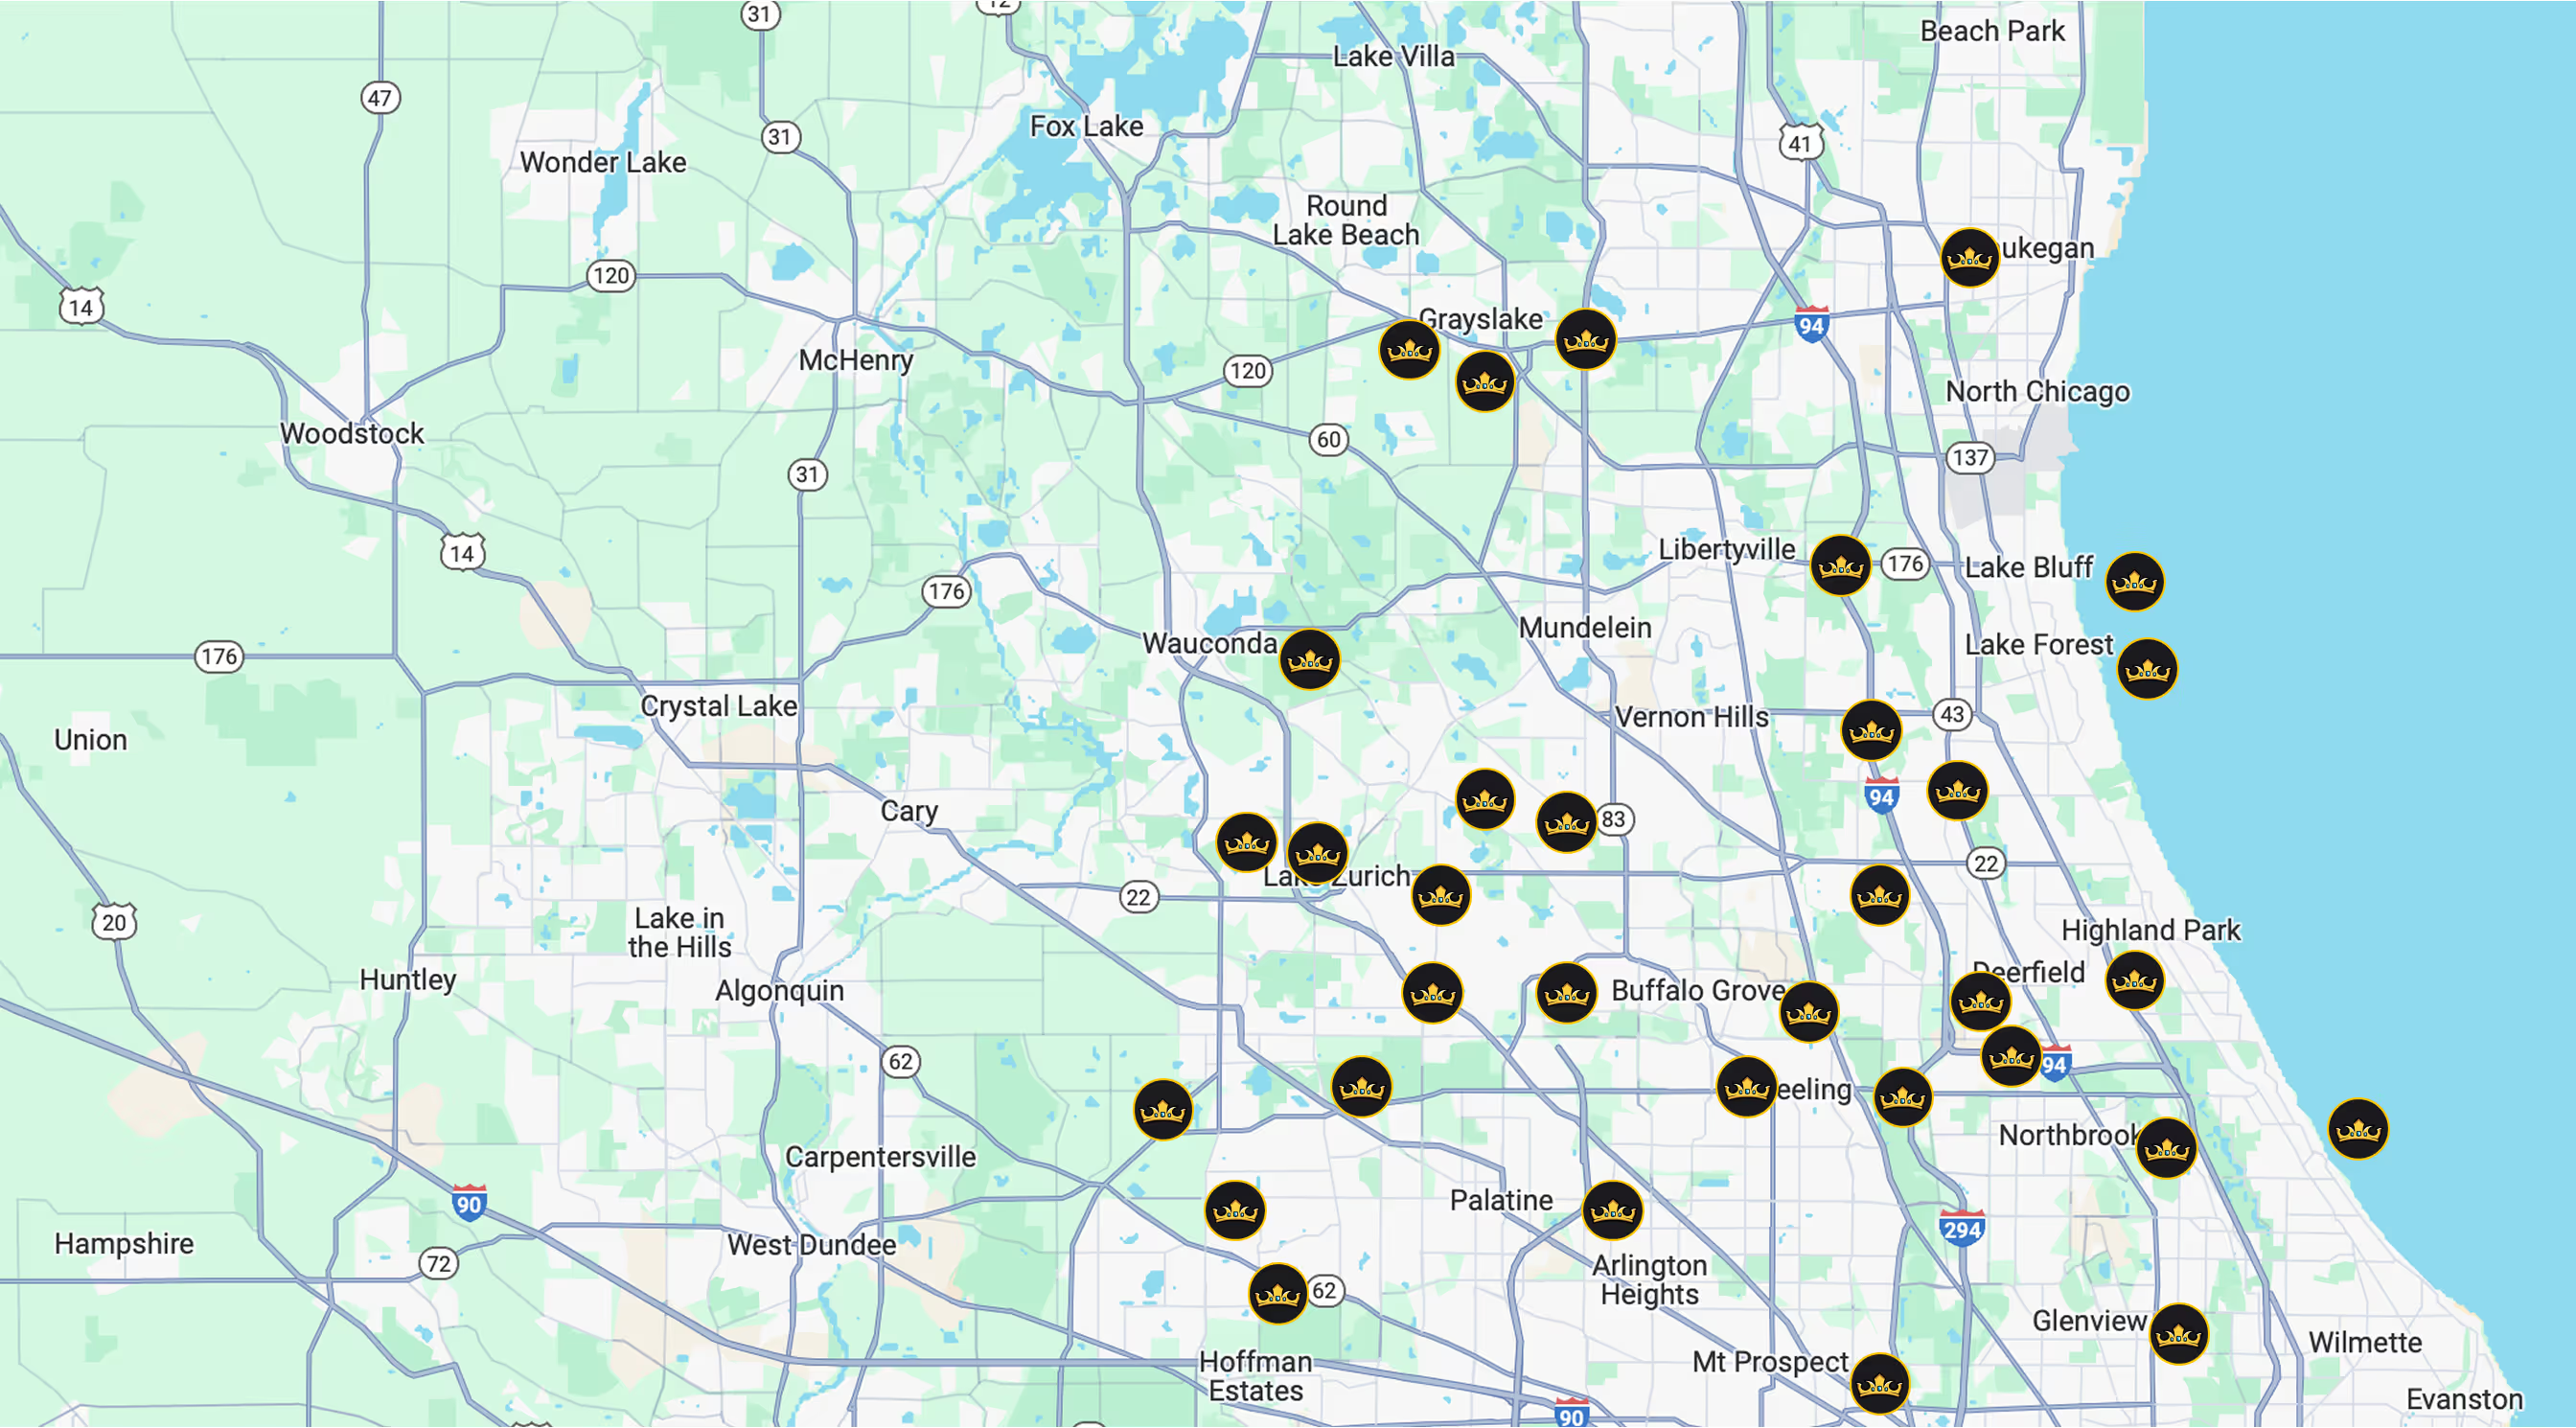
Mini Split AC Installation in Wauconda
Mini split AC installation in Wauconda offers energy-efficient cooling and targeted heating for spaces without ducts. This guide outlines system benefits, common installation types, and step-by-step processes from initial load calculations to commissioning, with an emphasis on precise sizing, proper outdoor siting, and compliant electrical work. Learn about timelines, pricing factors, and practical tips to maintain performance, including seasonal care, filter maintenance, and zoning strategies for year-round comfort in Lake County homes. Trust our experts for compliant, efficient installations every time.

Mini Split AC Installation in Wauconda
Installing a mini split heat pump in your Wauconda home is a practical, energy-efficient way to gain targeted cooling and heating where central HVAC is impractical or inefficient. Because Wauconda experiences humid summers and cold winters, choosing the right mini split system and installing it correctly ensures year‑round comfort, reliable heating performance during shoulder seasons, and lower energy usage for zones you use the most.
Why choose a mini split for Wauconda homes
- Zoned comfort: cool or heat only the rooms you use, reducing energy waste in older Lake County homes and additions.
- Efficient heating in mild-to-moderate cold: modern cold-climate mini splits maintain efficiency into low temperatures that are common here.
- Minimal ductwork: ideal for homes without existing ducts or where adding ducts would be disruptive.
- Quick installation footprint: less intrusive than full HVAC replacement, but performance relies heavily on professional sizing and placement.
Common mini split installation types and issues in Wauconda
- Single‑zone wall-mounted units for bedrooms, garages converted to living spaces, or sunrooms.
- Multi‑zone systems feeding 2–5 indoor heads for whole‑home zoning or multiple living areas.
- Ducted mini splits or floor consoles for basements and finished lower levels.
- Common issues seen after poor installs: undersized systems, improper outdoor siting leading to snow/ice problems, insufficient electrical supply, refrigerant line leaks, and blocked condensate drains.
The installation process — step by step
This covers the complete mini split AC installation process so you know what to expect.
1. Initial consultation and load calculations
- Onsite visit to review each space’s square footage, insulation, window orientation, occupancy, and unusual loads (kitchen, sunrooms).
- Perform a Manual J or comparable load calculation to determine capacity needs for cooling and heating in Wauconda’s climate.
- Discuss lifestyle priorities: quiet operation in bedrooms, maximum efficiency, or whole‑home zoning.
2. Model and indoor‑head selection
- Decide between single‑zone or multi‑zone and choose indoor head styles: wall‑mounted, ceiling cassette, ducted, or floor console.
- Select a cold‑climate rated outdoor condenser if you want reliable heating performance through our chilly Illinois winters.
- Consider features: inverter variable‑speed compressors, advanced defrost control, and integrated filtration for humid summer months.
3. Recommended indoor unit placement
- Mount wall heads high on an interior wall for even airflow; maintain recommended clearances above furniture and below ceilings.
- Avoid placing heads directly above heat sources, fireplaces, or behind heavy drapes.
- For bedrooms, position heads for quiet and even distribution; for living rooms, aim for unobstructed airflow paths.
4. Outdoor condenser siting
- Install on a level, sturdy pad with anti‑vibration pads and adequate clearance on all sides for airflow and service access.
- Elevate the condenser above the local snow line, and leave room for snow removal and salt spray mitigation from road treatments.
- Choose a location that minimizes noise impact on neighbors and avoids blocking sunlight if possible.
5. Refrigerant line and electrical work
- Run refrigerant lines, condensate drain, and communication wiring through the shortest practical route; maintain proper line set lengths to manufacturer specs.
- Core drilling through exterior walls should be tightly sealed and insulated to prevent air and moisture infiltration.
- Ensure a dedicated electrical circuit, properly sized disconnect, and GFCI protection where required. Electrical work should meet local codes and be performed or inspected by a licensed electrician.
6. Mounting, sealing, and best practices
- Use secure wall plates and brackets designed for the unit’s weight, with anti‑vibration hardware.
- Seal penetrations with closed‑cell foam, flashing, and appropriate exterior sealants to keep out moisture and pests.
- Insulate line sets and condensate lines to prevent heat loss/gain and sweating in humid conditions.
7. Permits and inspections
- Obtain necessary building and electrical permits from the local building department; inspections typically include electrical connections, compressor placement, and condensate disposal.
- Permit requirements vary by project scope; expect sign‑offs on electrical wiring and final mechanical installation.
- Keep documentation of refrigerant type and charge for code compliance and potential future service.
8. Commissioning and performance testing
- Evacuate lines to proper vacuum levels, check for leaks, and charge refrigerant per manufacturer specifications using superheat/subcooling methods when applicable.
- Test airflow and measure temperature split across the coil to validate cooling performance.
- Verify heating operation and defrost cycles for cold‑weather reliability. Confirm remote controls, timers, and any smart integration are functioning.
9. Post‑installation care and handover
- Technician demonstrates filter removal/cleaning, basic troubleshooting, and recommended maintenance intervals.
- Provide written notes on warranty registrations, recommended service frequency, and seasonal care specific to Wauconda’s climate.
Timelines and pricing considerations
- Typical timelines: initial consultation and load calculation are scheduled in days to weeks depending on availability; a single‑zone install can often be completed in a day, while multi‑zone or ducted systems may require one to two days or more.
- Pricing depends on system capacity, number and type of indoor units, line set lengths, required electrical upgrades, wall penetrations, mounting complexity, and permit fees. Because Lake County winters can require cold‑climate models and elevated outdoor placement, those factors can affect overall cost.
- Ask for a written, itemized estimate that lists equipment, labor scope, permit fees, and warranty coverage so you can compare value rather than just price.
Tips for ensuring efficient long‑term operation in Wauconda
- Choose a unit rated for efficient heating at low temperatures if you expect to use the heat pump through winter.
- Keep outdoor units clear of snow, ice, leaves, and winter salt buildup; elevate and shield units where street salt is common.
- Clean or replace filters every 1–3 months during heavy use; schedule annual or biannual professional service before peak cooling and after winter.
- Use zoned controls and temperature setbacks when rooms are unoccupied to maximize energy savings.
- Maintain a clear airflow path indoors; avoid blocking indoor heads with curtains or furniture.
Proper mini split AC installation in Wauconda combines accurate sizing, thoughtful placement, code‑compliant electrical work, and climate‑aware outdoor siting. When each step is done correctly, you get quieter, more efficient comfort tailored to how you live in your home throughout the year.

Customer
Testimonials

Great service Very professional
Air Kings was very friendly from start to finish. Very professional and on time. Always communicated with me to keep me informed. I highly recommend them.
Air Kings is a breath of fresh air when working with HVAC companies. Omar was incredibly helpful and polite, offering quality customer service I’ve never seen before. Very easy to talk with Air Kings, I recommend giving them a call!
Brian was super helpful and walked me through everything super nicely as well
Very satisfied
Great service Very professional
Air Kings was very friendly from start to finish. Very professional and on time. Always communicated with me to keep me informed. I highly recommend them.
Air Kings is a breath of fresh air when working with HVAC companies. Omar was incredibly helpful and polite, offering quality customer service I’ve never seen before. Very easy to talk with Air Kings, I recommend giving them a call!
Omar & team are great HVAC experts! They explain what they are doing and are always professional. Great techs that know what they are doing and reasonable prices.


Service areas